Beginners Focus – Posture and Grip
When taking up the game of golf there are two things that will help you to hit the ball effectively, your athletic posture and a proper grip.
Posture
When playing any sport that requires an explosive or strong movement, posture is a key component to playing well. Think of a baseball player when they’re at bat. The knees are bent, the back is straight and they are bent at the hips. Hockey players are in the same posture when they take a shot at the net. Volleyball players are in a similar position when they are waiting for the serve or spike.
It’s the same in golf. At address, bend your knees and bend at the hips until your arms can hang comfortably under your shoulders. Plant your feet about shoulder width apart and get a sense of the athleticism of your stance without a club in your hand. I find that my stance is the most powerful when I can feel my thighs and core working a little harder than normal to stay in my posture.
A strong posture will help you to keep your spine at the proper angle during your entire swing. It will also help you to stay balanced in your follow through.

Balanced Finish
Grip
Your grip is the only connection your hands have to the golf club. This is why it’s so important to know how to grip the club properly. There are three ways that you can effectively grip the club, interlocking, overlapping and ten finger grip. Another aspect to gripping the golf club will help to determine ball flight and clubface angle, strong, neutral or weak grip.
Interlocking Grip
This is the most popular grip for golfers. I find this grip works well for me and gives me stability when I swing the club. An interlocking grip is when the index finger of your lead hand, or your gloved hand, is crossed over the pinky finger of your trailing hand. It can help prevent the club from spinning in your hands when hitting out of the rough or when you take a divot on your iron shots.
Overlapping Grip
This grip popular with some golfers. An overlapping grip is when the index finger of your lead hand in on top of the pinky finger of your trailing hand. Some golfers can control the clubface quite well using this grip. I use this grip when I am putting and I feel more in control of the putter head.
Ten Finger (Baseball) Grip
This is the least popular among golfers. A ten finger grip is when the index finger of your lead hand is pressed up against the pinky of your trailing hand. Hockey players and baseball players may feel more comfortable using this grip.
Neutral Grip
A neutral grip is when the hands are directly in line with the clubface. This grip makes it easier to keep the clubface square though impact. A neutral grip allows you to shape the ball with subtle wrist rotations.
Strong Grip
A strong grip position is when your hands are rotated away from the target on the shaft. This grip can impart more power into your swing and increase distance. Your shots will tend to go from right to left for right handers and the opposite for left handers. Your ball flight will also be lower than a neutral grip.
Weak Grip
A weak grip position is when your hands are rotated towards the target on the shaft. This will generally cause your shots to fly higher and fade to the right for right handers. Chances are you won’t get the maximum distance desired with this grip.

Move Left to Escape The Sand
For those of you who are having trouble getting out of the sand on the golf course, here is one of the reasons why.
Sand can sometimes be like a penalty if you are struggling to get the ball out and close to your target. There has been several times when I would hit a shot in the sand only to end up about 3 feet closer to the hole but in the same bunker. Sound familiar?

Stay Left!
Start and Move Left
First of all, get your feet planted in the sand to get a good, solid footing. Next, set up like you normally would with the ball forward in your stance. Club selection depends on the distance and ball flight you desire. The trick is to start with more of your weight on your left side. Roughly 60/40. Now, when you swing through your shot, keep your weight left and transfer all your weight left in your follow through. This will help you to blast the ball out with plenty of loft and get it on the green.
Putt Through The Gate
Improve your speed using this gate drill
We all struggle with getting the right speed on our putts to get the ball into the hole. What some amateurs do is bring the putter back outside their foot and decelerate into the ball to control speed. It can work, however, to remain consistent and make more putts, a short backstroke is a better option. The next step is to accelerate into the ball through impact. This will give the ball an end-over-end roll towards the hole.
Set up the gate
Insert two tees into the ground far enough apart that the ball will pass through and not as wide as your putter. Place a ball in between the tees so that your putter will contact the ball before the tees.
Make your regular putting stroke
Set up to the ball and make your regular putting stroke. If you find that you cannot get the ball to roll forward with enough power you are most likely decelerating before you get to the ball.
Practice accelerating into the ball
The goal for this drill is to hit a ten foot putt without knocking the two tees out of the ground. Work on this drill until you can put a solid hit on the ball and get a consistent end-over-end roll on the ball. This drill will give you more confidence on the putting green and you will be sure to sink more putts.
Build A Golf Short Game Routine
Practice, Practice, Practice!!
Practice makes perfect, practice till you puke, practice, practice, practice. We have all heard these cliché’s. Who has time to practice that much? How can I improve without spending hours and hours practicing? The answer is to Build A Golf Short Game Routine.

Build Your Short Game
Seeing how it’s now the off season for golf, it’s a great time to begin to build your routine. Once you build a golf short game practice routine, then you can continue to use it during your golf season. You can bring your practice routine with you to the course as part of your pre-game warm up.
Your golf short game evolves over time and your routine should as well. Tracking your progress on the range and on the course will show you which types of shots work for your game and which do not. Perfecting the ones that do will improve your short game.
Remember, this is just a guideline. You can modify these principles to suit your needs and talents.
Elements of a Golf Short Game Routine
Putting
My suggestion is to begin your routine on the practice putting green. Spend 20-30 minutes putting from various distances such as; 5 feet, 10 feet and 20 feet. This will help you get a feel for how fast or slow the green is rolling. Try to get all your putts within a foot or two from the hole, or better yet sink it. Once you have gotten a good “feel” for the speed of the green, it’s time to move on to the short game practice area.
Come back to the practice green following the other elements to hone your putting skills once again. This time spend 20-30 minutes focusing on making short putts less than 5 feet. Pick 1 or 2 putting drills that are easy to remember and do them over and over again until your time is up. Try to sink as many putts as you can during this time to build up your confidence and perfect your technique.
Pitching
Next, head over to the short game practice area. Drop 30 balls down approximately 30 yards from the practice green. If you are like me and have to practice indoors, pick a target that is about 30 yards. Using a rangefinder is a more precise way to choose distances that may you need to work on. Choose your three highest lofted wedges from your set and hit ten balls with each one. Pay attention to how long your backswing is, and work on getting a consistent feel, with each club.
Start with your pitching, gap or utility wedge and try to land the ball near the front of the green as the ball will roll out quite a ways after it lands. Really pay attention to how far it rolls out after landing. A lower lofted wedge is ideal for when the hole is cut near the back of the green.
Now, hit ten balls with your sand wedge. Try to land the ball half way between the front of the green and the pin. This middle lofted wedge is ideal for when the pin in situated in the middle of the green. Pay attention to how much less the ball rolls out with this club. This club can be your go to when the pin is tucked away and you just want to get the ball on the green safely.
Lastly, hit ten balls with your most lofted club. Try to get the ball to land almost all the way to the pin. Your lob wedge will send the ball high and the ball will land softly with little rollout. This is the club you can use when there is a hazard between you and the hole. It is also good for when the pin is near the front of the green.
If you have time, repeat the process again focusing on how each clubs feels when you contact the ball. Concentrate on transferring your weight to your front foot and making ball first contact. The more you practice this “feel”, the more confident you will be with your wedge play. Vary the distance of your targets occasionally to keep things interesting and hone your skills even further.
Chipping
The goal when chipping is to get the ball rolling on the green as soon as possible. Chipping is most effective when there isn’t any obstacles between you and the pin. Club selection requires some thought when planning a chip shot. If the hole is cut on the far side of the green from where your ball sits, choose club with a lower loft, such as a 7-iron or 8-iron. The closer the pin is to you, the higher loft you can use.
This time start with your sand wedge. Choose a target that is around 10 feet from you. Hit ten balls using the technique shown in the video above. Pay attention to the ball flight and how far the ball rolls. Try to land the ball as close as you can to your target. A sand wedge will cause the ball to roll out about the same distance as it was in the air. (1:1) Ideal for when the pin is close to you on the green.
Next, grab your 9-iron. Hit ten balls to the same target you chose with your sand wedge. Use the exact same swing as your previous ten shots. Pay attention to the ball flight and you will notice that the ball will roll twice as far as it did before. (1:2) The key here is get a feel for the chip shot and train your muscles to do the same thing over and over. Use this club when the ball is roughly in the canter of the green.
Finally grab your 7-iron. Hit ten more balls to the same target. Again, use the same swing length as the previous 20 shots. You will notice that the ball will roll four times farther from your target than your sand wedge. (1:4) Pay attention to the ball flight as well. This chip shot is ideal for when the pin is cut at the far side of the green.
Experiment with chipping with different clubs and different distances. Remember, on the golf course you will never have the same shot to play around the green. Each shot around the green will require you to access your full arsenal of weapons and techniques. Using this golf short game routine will give you the confidence to play almost any shot around the green.
I’d love to hear from you about your routine and any other comments you have. Please leave me a note.
What is Bounce?
When buying a pitching wedge, gap wedge, sand wedge, or lob wedge there are two characteristics of the clubhead that require some thought, loft and bounce. Loft is the effective angle of the clubface to the shaft of the club. Bounce is the angle of the sole of the club relative to the ground with a proper setup position.
Bounce angles on wedges vary from 8° up to 16°. Low bounce angles are ideal for dry, firm conditions and short grass (tight lies). Standard or high bounce angles are ideal for soft or wet conditions and for playing out of the rough. Knowing which bounce to use for which situation will help minimize the chance of skulling or thinning your shot near the green. Firm bunkers require low bounce and soft fluffy sand is easier to escape with standard or high bounce wedges.

Escape Bunkers With Ease
In dry, firm conditions, low bounce guides the leading edge under the ball and gets the ball up in the air. In soft or wet conditions, the leading edge would dig too deep under the ball resulting in a “fat” shot where the ball doesn’t go as far as we anticipated.
In soft, or wet conditions standard or high bounce will allow the leading edge of the club to avoid digging into the turf and get the ball into the air.
Determining the best loft and bounce for your wedges requires some research into the conditions of the courses you like to play. Public courses are usually firmer in the bunkers and around the greens. Coastal golf courses are softer and would be better suited to a higher bounce angle. If you are like me and play in various course conditions and locales, a standard bounce angle would likely be your best bet.
Mallet Putter vs. Blade Putter
Finding a putter that you like can be a daunting task. It can be an overwhelming sight walking into a golf shop and looking at all the putters lined up along the wall. There are fat ones, skinny ones, long ones, short ones, and quite a few different manufacturers. There are mallet putters and blade putters.
If you are fairly new to the golf world, you probably bought a full set from a friend or from the local golf store. And, you probably took whatever advice they told you about the putter in the bag. That is, if they even mentioned the putter.
Was the putter uncomfortable to use? Did you seem to miss a lot of putts that you felt you could make? Was the shaft to long or too short? Did the grip feel too skinny or too fat?
Answering yes to any of these questions would have prompted you to visit your local golf store and begin the process of picking a new putter. With over 100 putters to choose from, where do we start. Most golf stores have staff that can help you choose a putter that will work for you. Most likely the first question they will ask is: Do you like a mallet or blade putter?
What is a Mallet Style Putter?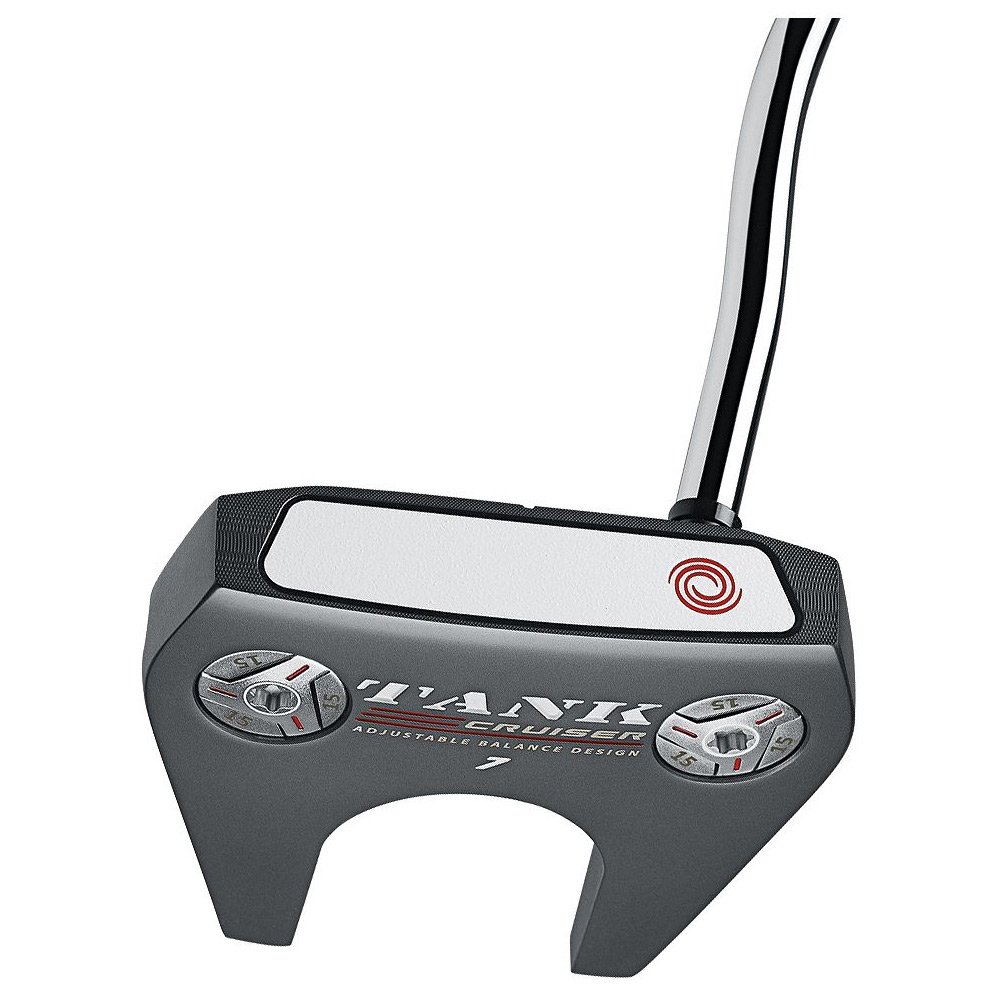
A mallet style putter usually has a large squarish or semi-circle head. The shape of the head can also be quite unorthodox. There are various alignment aids on the top of the head to aid the golfer. A mallet putter stroke is normally straight back and straight though. The face is square with a standard loft of about 4 degrees.
One of Golf Digest’s Hot List Mallet Putters
Odyssey Tank Cruiser #7 Mallet Golf Putter, Right Hand, 35-Inch $245.54
 What is a Blade Style Putter?
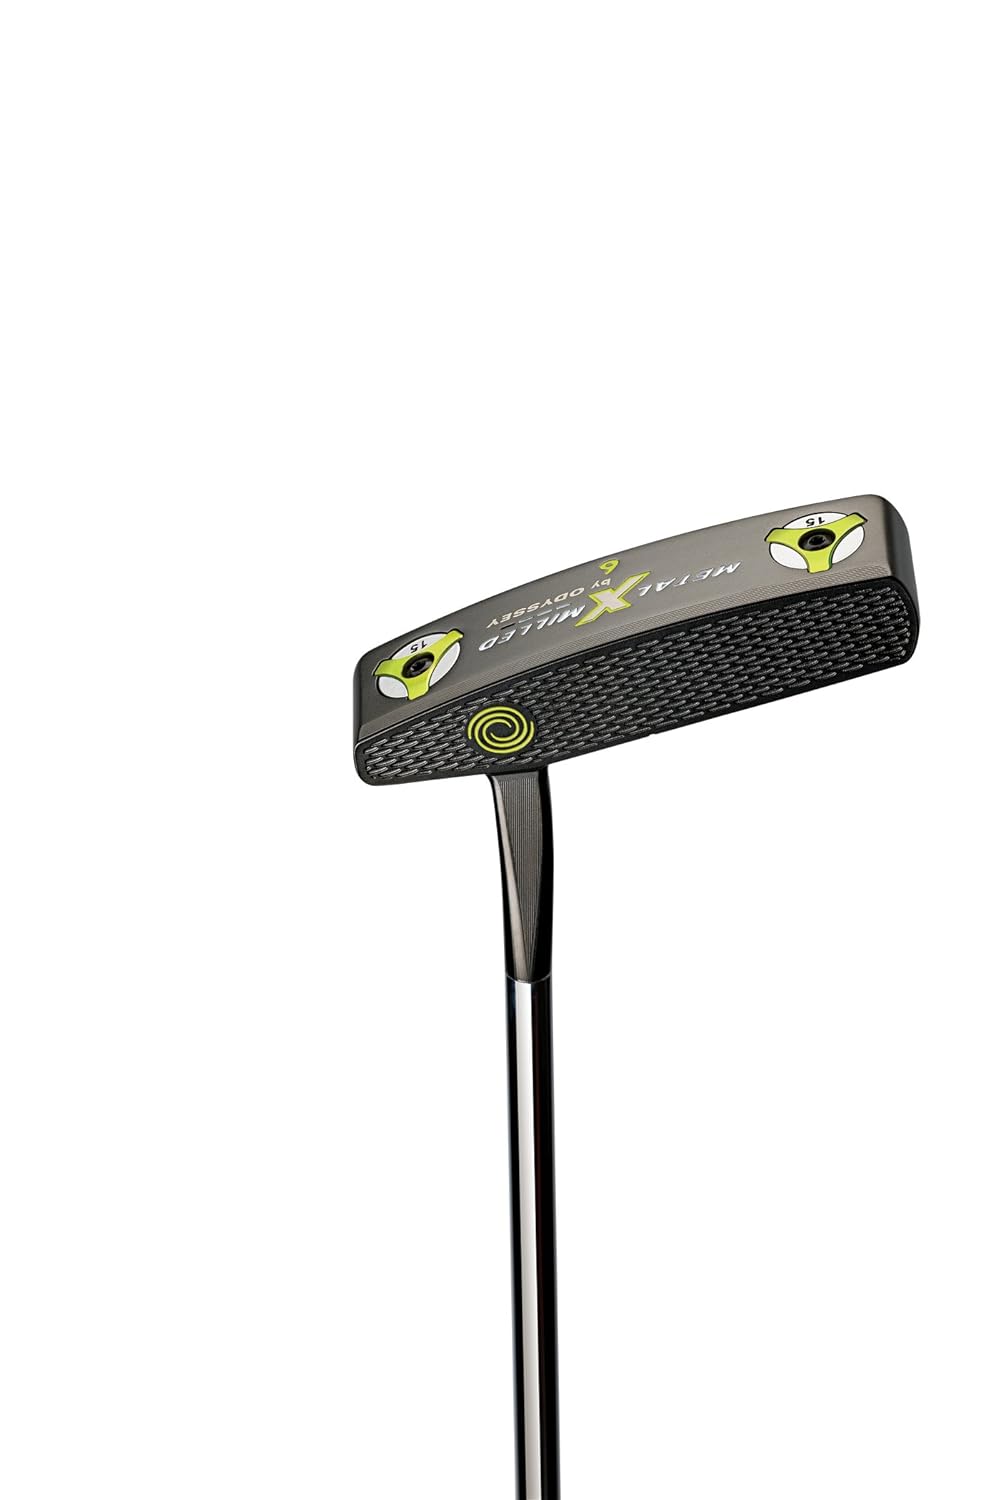
A blade putter is designed to be smaller and less complicated than a mallet putter. Full sets generally come with a blade putter. The putter head has minimal alignment aids. Most blade putters have a similar shape. The blade putter stroke is normally done on a slight arc back and through. The face is square with standard loft of about 4 degrees.
One of Golf Digest’s Hot List Blade Putters
Odyssey Metal X Milled # 6 Putter, Right Hand, 35-Inch $299.99